October 8, 2015
Create Stop Motion Animation with KomaKoma
This post was originally posted on Free Tech for Teachers Stop Motion was one of the original video creation techniques. By stringing together a series of single images and displaying them quickly in order, film was born. Now on iPad, Stop Motion can be used as a technique for capturing learning as it happens, making drawings, models, […]
This post was originally posted on Free Tech for Teachers
Stop Motion was one of the original video creation techniques. By stringing together a series of single images and displaying them quickly in order, film was born. Now on iPad, Stop Motion can be used as a technique for capturing learning as it happens, making drawings, models, science projects, or counting exercises come alive. Consider the power of creating a digital flipbook that could later be viewed as a video.
Introduction to KomaKoma
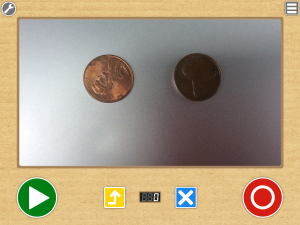
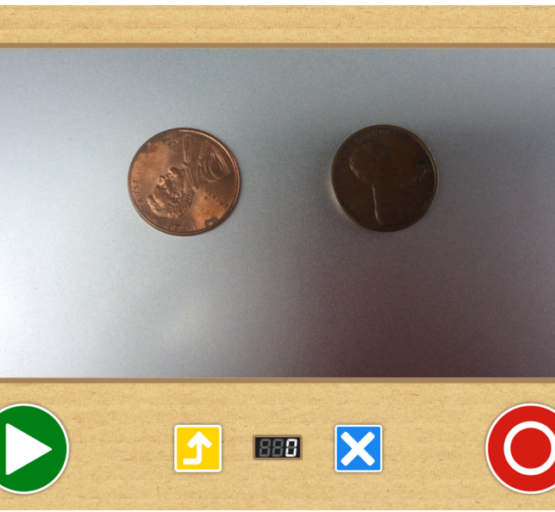
KomaKoma is a FREE Stop Motion Animation iPad App that can compile together a series of photos taken in the app and then export them to the Camera Roll as a video. With a simple user interface consisting of only a few buttons, KomaKoma is very intuitive and great for any age learner. The app launches the camera automatically (first time app users will have to allow the Camera access). A big red record button captures each image in sequence, and a big green play button plays the images back as a video. The only other 2 editing buttons are a blue “X” to delete the last image taken, and a yellow arrow for saving the video to the app’s Gallery.

A great feature that sets this app aside from a regular video creation app like iMovie, is the Onion Skin. While you move/draw/create each image, the previous image remains on the screen but slightly transparent allowing the creator to line up the old and new images to create a fluid video. Onion Skin and other settings such as playback speed, camera orientation, and a time lapse feature can be turned on and off under the Settings in the upper right corner of the app (a little wrench).
The number of images in a “FlipBook” is logged on a counter at the bottom. To preview the images in the sequence, tap the green Play button to watch your video on a continuous loop. Tapping the play button again will pause and allow for continued editing. Once you are satisfied with the video, tap the yellow up arrow to send the video to the KomaKoma app’s Gallery. If you would like to send the video the Camera Roll to use it somewhere else, or view it in another app, tap on the Gallery icon in the upper right and then select the clip. This automatically pops up an Options menu offering a variety of features including Saving to the Camera Roll.
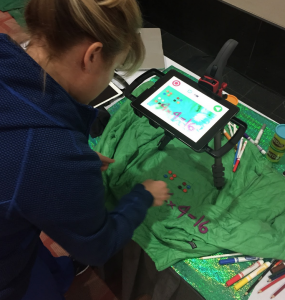
The biggest challenge for the app is coming up with a device that can hold the iPad steady enough to capture the images seamlessly. The example video using PlayDoh used the Playdoh containers stacked up on either side of the iPad as a stand.
Ideas for using KomaKoma in the classroom:
- Demonstrating mathematics understanding with manipulatives and/or hand writing
- Showing the process carried out of a science experiment step by step
- Bringing life to a diorama with moving Lego characters
- Using the time lapse feature to study a slow moving process (Note: iPad must be plugged in and iPad sleep settings altered to NOT turn off).
- Bonus Tip!: Have a Greenscreen App like DoInk’s Green Screen? Manipulate objects in front of green wrapping paper or construction paper, then bring the video into your favorite Green Screen app to place your objects anywhere!


